

Let’s look at Google Data Studio’s Optional Metrics feature. This is a feature which you can add to almost any chart to allow the user to add/remove/change the metrics in the chart.
Why Use Optional Metrics?
- Keep dashboards looking clean while still offering the ability to analyze tons of data!
- Allow more interaction in your reports.
- Include secondary KPIs into trend charts for periodic analysis.
- Avoid having to grant Edit access to your GDS reports by allowing users to change metrics on the View screen directly.
- Look like a Google Data Studio expert to all your co-workers!
What are Optional Metrics?
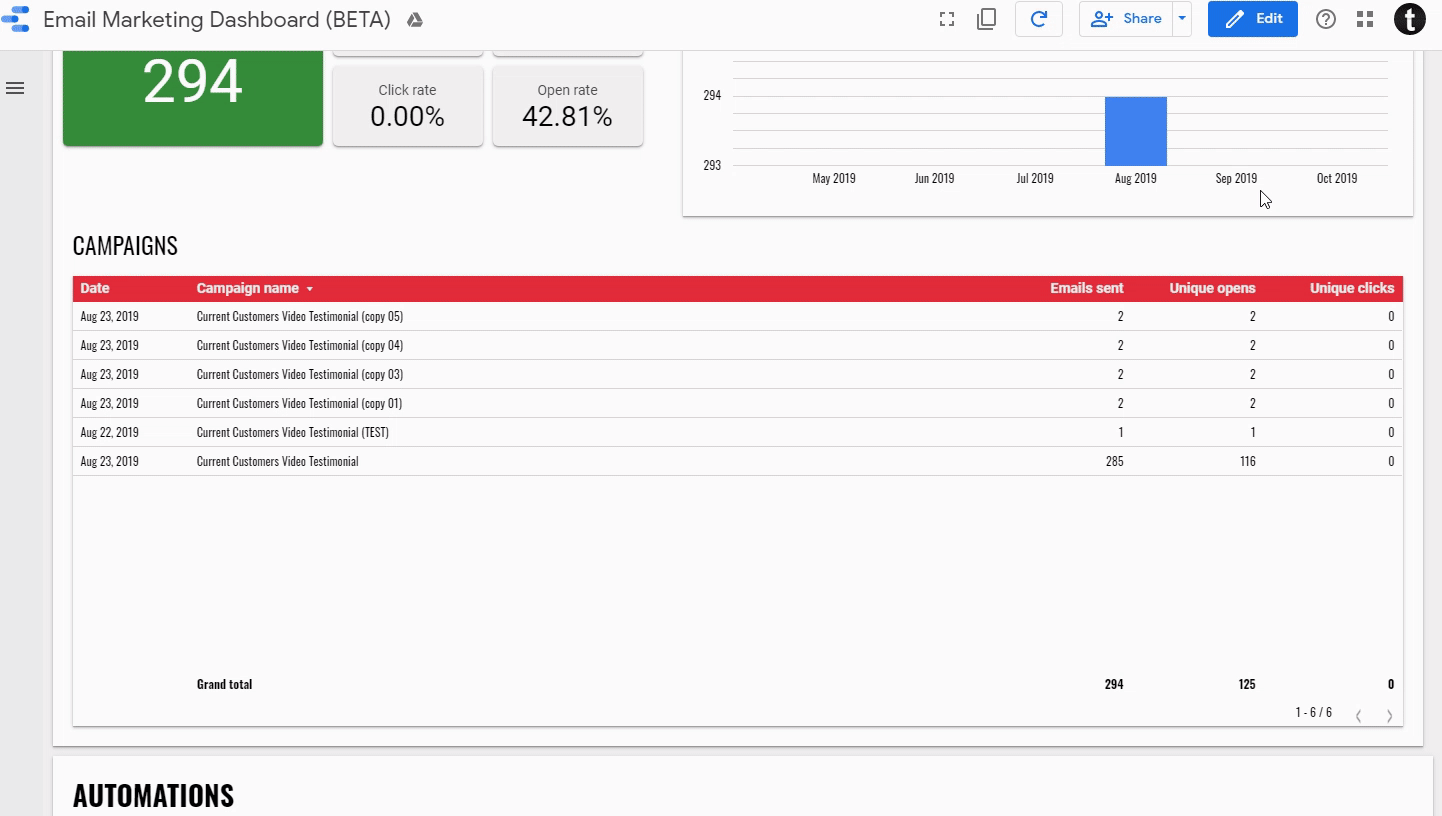
Optional metrics are a function where, after defining a chart’s primary metric, you can add additional metrics which don’t appear until the end users decides to engage them. Here’s what that looks like:

Notice how easy it is to change the metric on the unique clicks scorecard above and switch to bounces.
How to Use Optional Metrics
Using Optional Metrics is easy. Just follow these steps.
- Switch to edit mode in Google Data Studio
- Select the metric which you want to allow for optional metrics
- Engage optional metrics
- Select the metrics which you want to make available
On Which Charts are Optional Metrics Available?
From what we can tell, optional metrics are available on almost any Google Data Studio chart.
- Scorecards
- Tables
- Pie Charts
- Line Charts
- Bar Charts
- Scatter Charts
- And more!
Enjoy and please comment below if this was helpful!
Hi there, I don’t think optional metrics are available in Scatter Charts … On another note do you know anyone who can be hired to make community visualizations in Google Data Studio. I’d like to have flow diagram or a sankey diagram with filter functionality. Thanks for any directions.
Best,
W
Hi Wes,
No one to recommend but we’re looking for the same. Please reach back if you find someone!
Rick